Follow Lian, a fun loving seventh grader, as he talks to members of his community and explores the boundaries of his world. Help Lian Interview President Obama
My favorite posts of Lian's are the projects that have him excited to be learning or doing something new. I actually had two favorites and I can't decide which I like more.
I loved watching his face when he saw the colors and they were so vibrant. I love fizzy projects. They always turn out so well even when they don't work, of course, this one worked out very well.
This was exciting because we not only were able to get it to work right the first time, but we also able to make it work a second time (Solar Powered S'mores ). I have the perfect box in storage and I can't wait to expand on this experiment over the coming summer.
Another fun memory from the last year. This is my favorite project. It was a project mom found on preschool blog, but I really enjoyed it. I got to simulate weather in cool colors. Other people like it too. It is number eight in views on the all time list.
I love projects that I can play with a lot. I really wanted to do this because it looked like fun. We got the idea from my second favorite website, Education.com. It would be my favorite except that even though they have fun stuff to do and we won their contest last Fall, they also have lots of school worksheets. They are fun to do, but they are still school. The project was for preschoolers but we thought if we took video under our pool it would make it more for kids my age. http://www.education.com/activity/article/underwater-viewer/
What you need for this is a coffee can or oatmeal container, plastic wrap and rubber bands. It is really easy to make. Just cover the open ends of the container with wrap and make it tight with rubber bands.
It is hard to see down under water because the light refracts in the water and in the ripples on the water surface. The viewer lets us see what is underwater with all that happening. In my refraction experiment you could really see how much the light bends in still water. The moving water adds more distortion to it.
We did have some problems with the video because the sun was so bright we couldn't see the image of what we were recording on the camera monitor. When we uploaded it to the computer, I was really happy to see that so much of it came out great. We really could see the bottom of the pool easy in the video. I still use it. Mom says we can make another one out of a coffee can and it won't get soggy. We don't drink coffee so I had to wait for my awesome granny to give us a can.
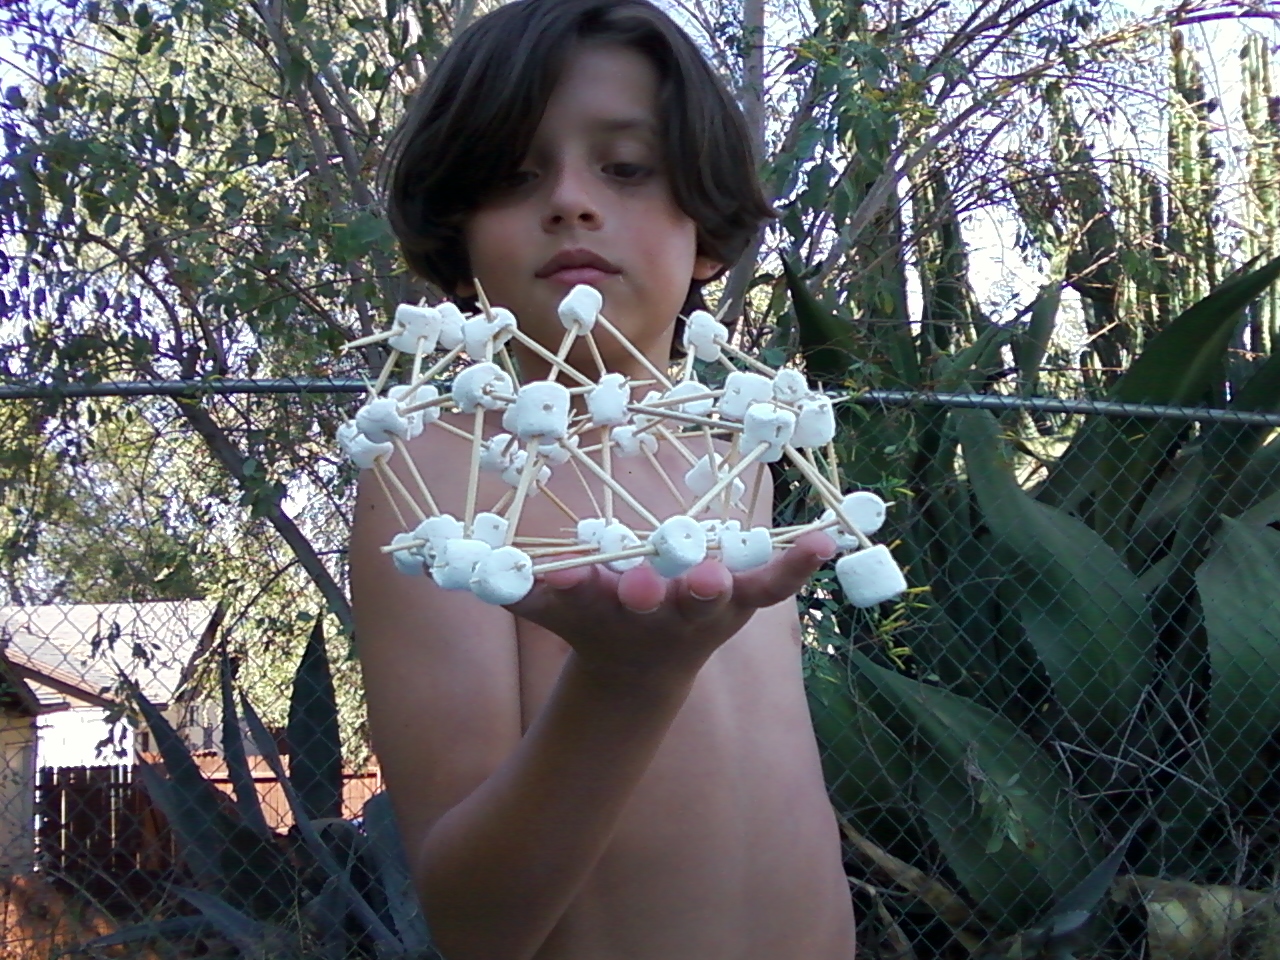
I was looking forward to this project all summer. I love building things and marshmallows are the perfect shape to build things with. It was too warm so the marshmallows got really sticky but I didn't mind. I had so much fun and I can't wait to do it again. I loved checking this off my Summer To-Do List.
This is a great project, especially because it was present for my cousin Michelle. It wasn't as easy as it looks but we figured it out.
What you need for this is
Foil
Glue
Sharpies
Cardboard
Construction Paper
We discovered that you have to use permanent markers for this. The regular kid markers rub off and they aren't as dark. Hot glue is the best for this, but regular glue works too, it just takes longer. Just draw your picture on the cardboard. Make it a big picture without a lot of details. My picture had lots of lines but when we got to the glue part they didn't show through. Use your glue to outline all the lines on your picture. Then, cover the dry glue with foil and press it down so the glue forms ridges. You may have to use more than one layer of foil. It is real easy to poke through it. You color inside the ridges with the sharpies. When you are done coloring, outline the ridges with black. It looks so neat. We used construction paper for the frame.
This week I made my favorite cookies. Mom makes them all the time and my dad and I love them.
The basic recipe is
3 cups Old Fashioned Oats (you can use quick oats or flavored oatmeal)
1 c of applesauce (any flavor)
1/4 c of skim milk
1 tbsp of sugar (optional)
Extras
craisins
dries fruit
berries
nuts
hazelnut spread
Cinnamon
Brown Sugar
Coconut
For mine today, I used 1/3 a bag of crasins, a lot of cinnamon and 1 tsp of sugar
Directions:
Mix together the oats and the applesauce and add any extras you want. Then use just enough milk to moisten the mixture. Let it sit for a few minutes to soak the oats. You know it's ready when the batter sticks together. Scoop spoonfuls onto a cookie sheet and bake at 400 for 10-12 minutes or until they start to get brown. They won't be soft like regular cookies. You can also bake them in a cake round or square and cut the cookies into bars. That is really good.
We like them served cold and we usually keep ours in the freezer. They are really filling so you don't want to munch on them like regular cookies. You just need a few.
Mom got the original recipe here http://www.wisebread.com/whats-cooking-breakfast-cookies-for-the-life-hacker-on-the-go and then we made up a bunch of batches with different combinations to see how we liked it. We didn't really like the bananas in the original. I love dried cherries and walnuts or almonds and coconut. I really like when we add the hazelnut spread. We don't usually add sugar unless cinnamon is the main flavor and you really don't need sugar if you use flavored oatmeal. This is my favorite kind of cookie. I hope you like it too.
Last Summer we did a lot of experiments with fizzy stuff. Things like baking soda, antacid tablets, yeast and fizzy drink tabs.We didn't always get a chance to blog about it.
This is one of my favorites. We tried all afternoon to get a balloon to self inflate and explode, using Nuun drink tablets and water.
The water and the tablets reacted so we were sure it should work but it always fizzed out before the balloon inflated all the way. Dad finally came up with the idea to add water to the tablets instead of the other way around and the reaction was humungous. It was so cool when the balloon popped.
Later this summer we are going to try this again with vinegar and baking soda. I can't wait. I love messy experiments.
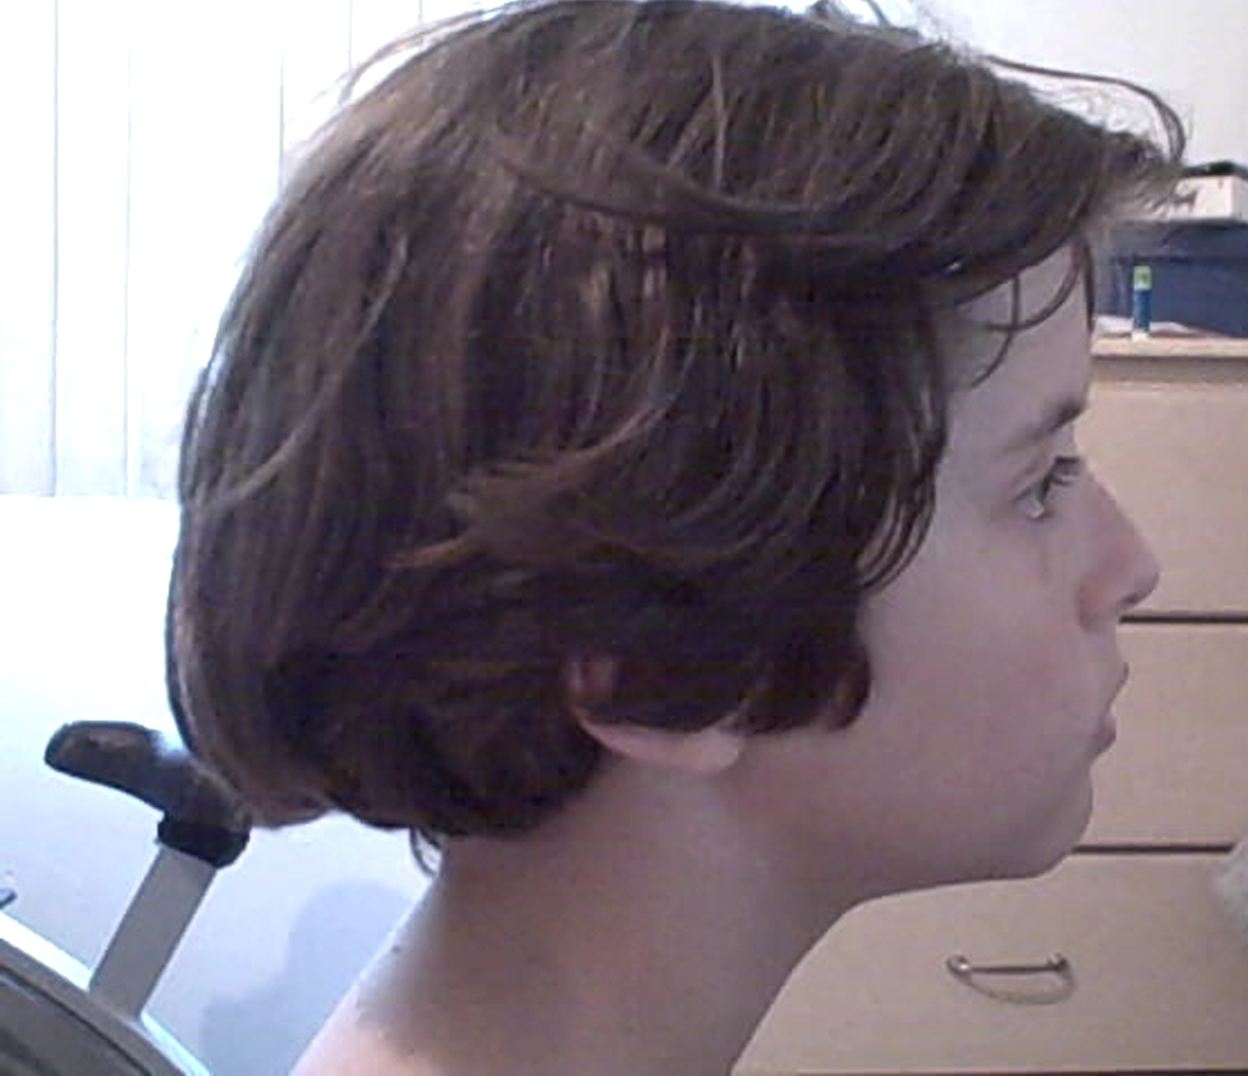
I wanted to make melted crayon gift for my Gran. Mom suggested a silhouette since it is on my summer list. It is not as easy as it looks to make one. In the end we used the photo editor, paint.net, to make it.
First we made several photos of a side shot of my face.
Once we found one I liked, I opened it into the editor. Using the eraser
tool, I erased everything in the photo except my face and neck. After
that I used the feather tool to blur the edges of my face. Then, with
the magic wand tool, I selected the white portion of the photo and then
inverted the section so that my face was selected. Finally I used the
fill bucket to make that part black. When we tried to print we
discovered that our printer was out of ink so once it was printed I
colored it in with black crayon.
This project is Baking Soda and Vinegar Fireworks. I love doing baking soda and vinegar projects because they explode all over the place. Once I used them to inflate and explode a balloon and I use them all the time to make my volcano erupt.
The reaction happens because the sodium bicarbonate in the baking soda and the acetic acid in the vinegar combine to release carbon dioxide gas in the form of bubbles.
For this project we used food coloring, baking soda and vinegar. We tried to hide the food color so the color only happened when the reaction occurred. A few drops of color in the bottom of the cup and enough soda to cover it. You don't need a lot of vinegar to make it react. It was so cool. It is a fun way to spend the afternoon.
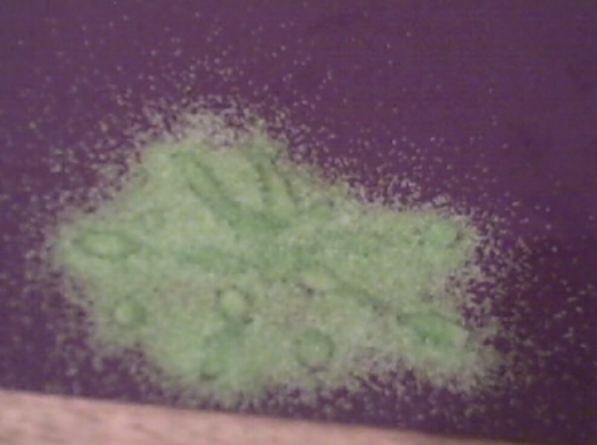
For Wednesday I wanted to make glitter fireworks, but we were out of glitter. So we made some using salt and food coloring. It was fun and easy. We just added a few drops to the salt and mixed it with a fork. Our colors were kind of dark so we added in more salt to lighten them. The neon blue came out the prettiest but they were all really beautiful colors.
Sometimes Mom let's me make dinner or Dad and I cook when mom is sick and can't cook. I only know how to make pizza but it is fun.
For my pizzas, I use:
english muffins
shredded cheese (any kind)
spaghetti sauce
shredded parmesan cheese (we call it shake cheese)
sliced vegetables (whatever we have, but usually onions and green bell peppers)
After putting all the ingredients together we bake them at 400° for 10-15 minutes, until the cheese is golden and the crust is crisping. My parents help me put it in and take it out of the oven because I am still short.



.jpg)