Visit SummerOfFunBlog.com Keep up with all of Lian's Adventures.

Lian's Summer of Fun

Showing posts with label Make Something Monday. Show all posts

Monday, July 16, 2012

Foil Stained Glass


This is a great project, especially because it was present for my cousin Michelle.  It wasn't as easy as it looks but we figured it out. 


 What you need for this is

Foil
Glue
Sharpies 
Cardboard
Construction Paper

We discovered that you have to use permanent markers for this. The regular kid markers rub off and they aren't as dark. Hot glue is the best for this, but regular glue works too, it just takes longer.  Just draw your picture on the cardboard. Make it a big picture without a lot of details. My picture had lots of lines but when we got to the glue part they didn't show through. Use your glue to outline all the lines on your picture. Then, cover the dry glue with foil and press it down so the glue forms ridges. You may have to use more than one layer of foil. It is real easy to poke through it. You color inside the ridges with the sharpies. When you are done coloring, outline the ridges with black. It looks so neat. We used construction paper for the frame.

There is a really great tutorial here ↓  Theirs came super cool! http://www.housingaforest.com/tinfoil-and-sharpies/

 I found it in my online newspaper Lian's Picks for Kid Summer Fun


Monday, July 9, 2012

Make a Silhouette


 Make Something Monday


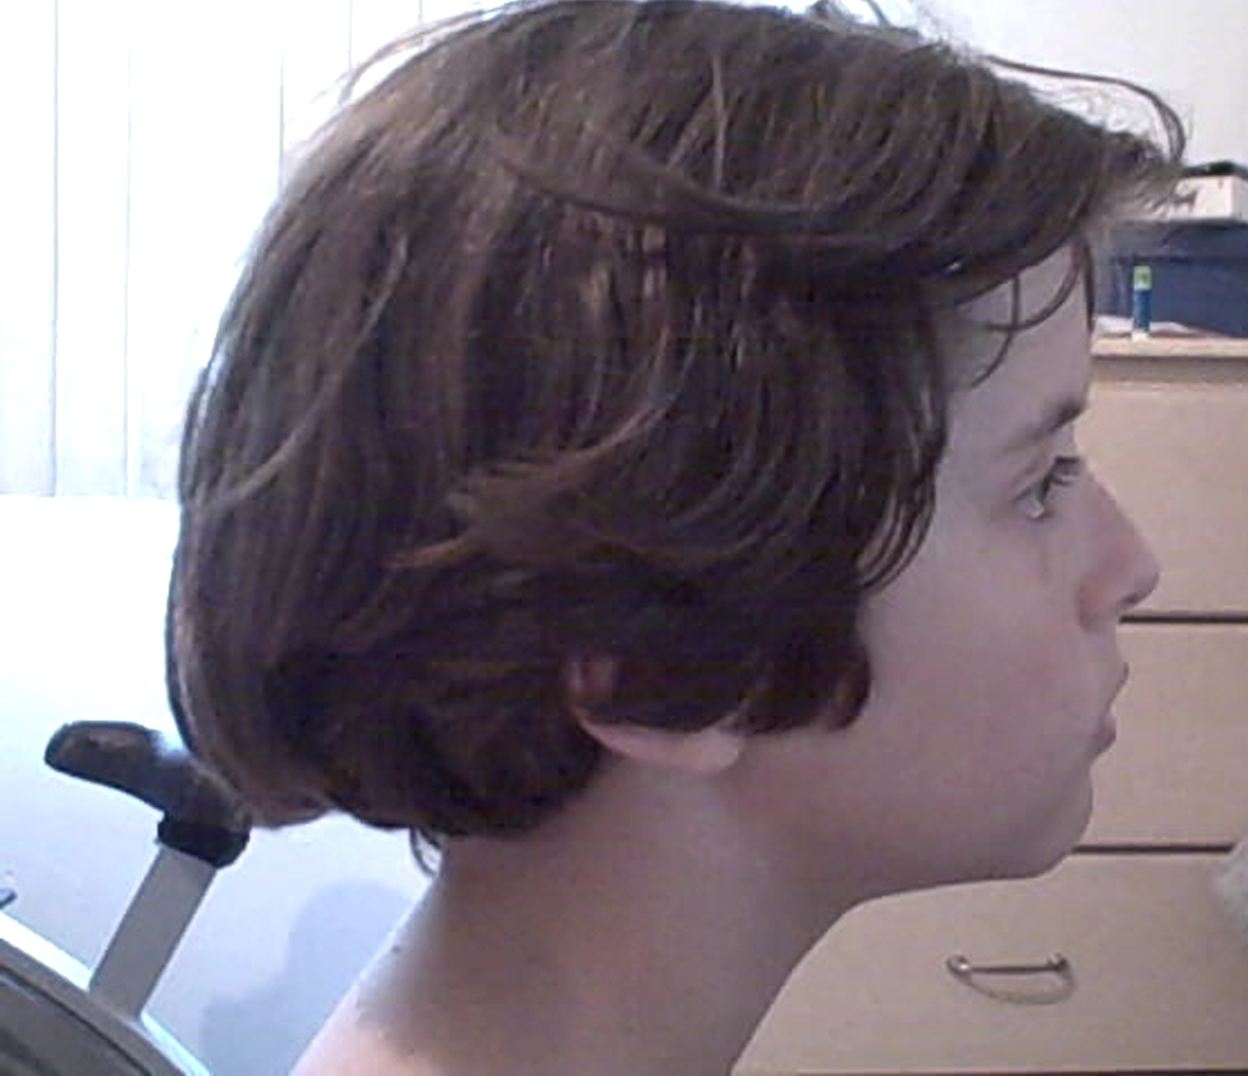
I wanted to make melted crayon gift for my Gran. Mom suggested a silhouette since it is on my summer list. It is not as easy as it looks to make one. In the end we used the photo editor, paint.net, to make it. 


 First we made several photos of a side shot of my face. Once we found one I liked, I opened it into the editor. Using the eraser tool, I erased everything in the photo except my face and neck. After that I used the feather tool to blur the edges of my face. Then, with the magic wand tool, I selected the white portion of the photo and then inverted the section so that my face was selected.  Finally I used the fill bucket to make that part black. When we tried to print we discovered that our printer was out of ink so once it was printed I colored it in with black crayon.


Mom helped me with the screen shots here.


What People Are Reading This Week

Click Every day! The Autism Site